Tag triggers add tags to new leads automatically, based on where each lead came from. There are two types:
- Static tag trigger: adds the tags you choose to every lead that comes in from the selected source (for example, a specific form or landing page).
- Dynamic tag trigger: tags the lead with their own answer to a form question (for example, the location they picked).
A static trigger can only assign tags that already exist, so create them first. Dynamic triggers create their tags from the lead’s answers, so they don’t need this step.
- Log in to Growth99+ using your credentials at app.growth99.com.
- Go to Contacts and click Add Tag.
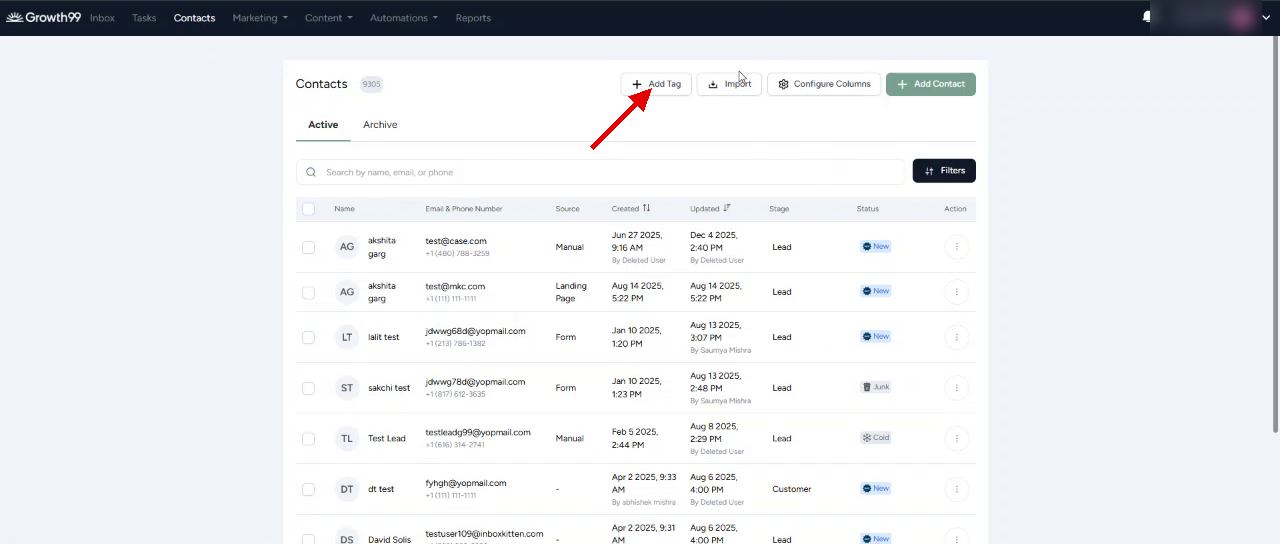
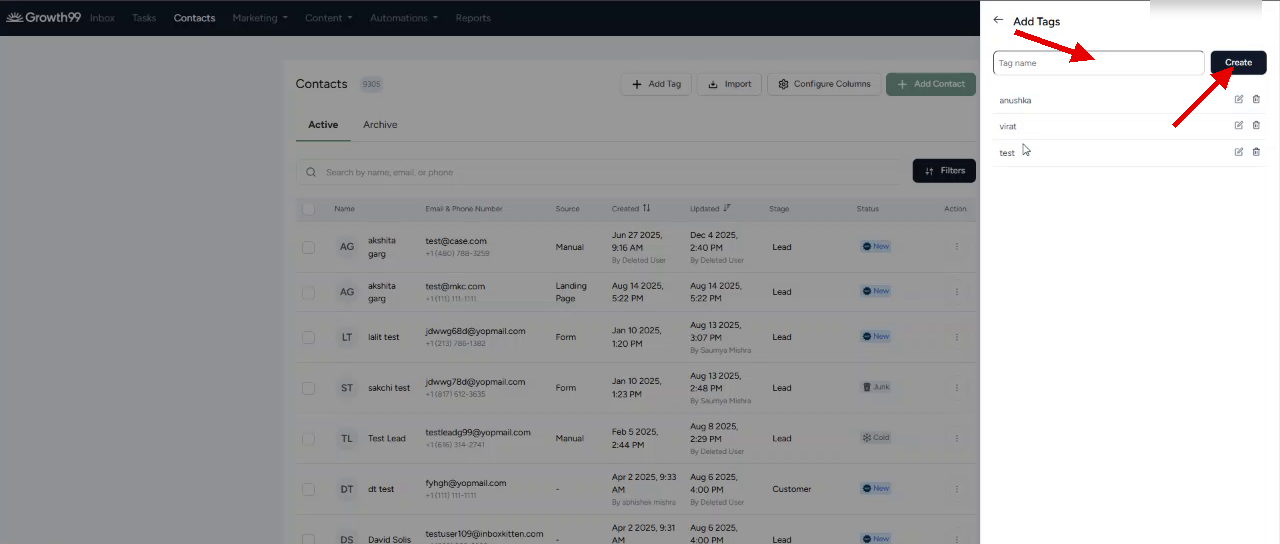
- Enter the tag name and click Create. The new tag appears in the list below.
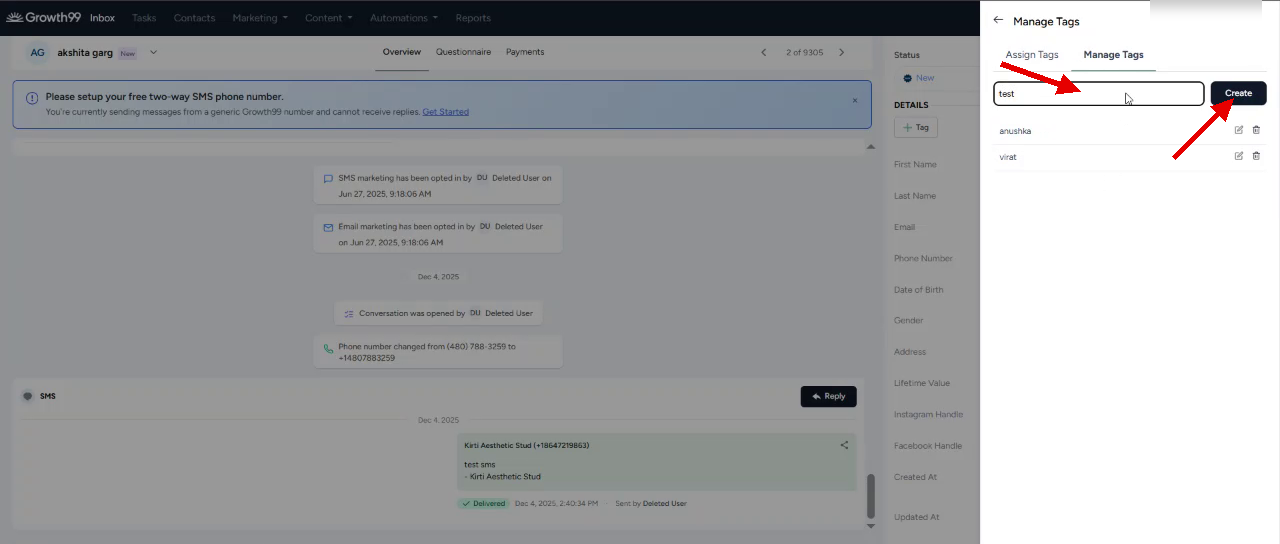
- You can also create tags from the Inbox: open a conversation, click + Tag in the Details panel, open the Manage Tags tab, enter the tag name, and click Create.
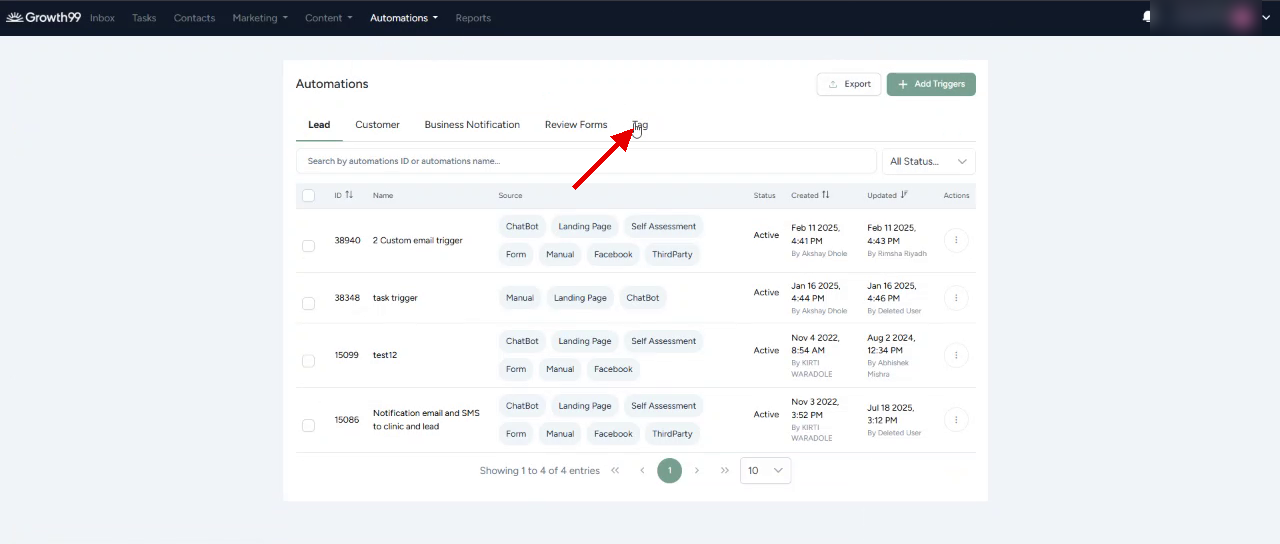
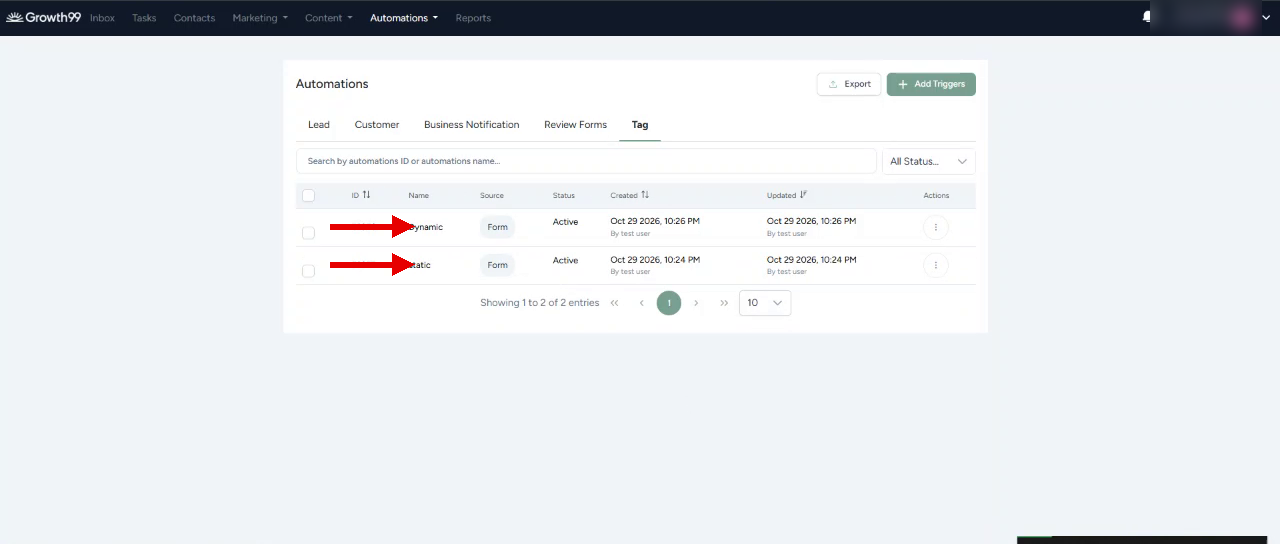
- Click Automations in the top menu, then open the Tag tab.
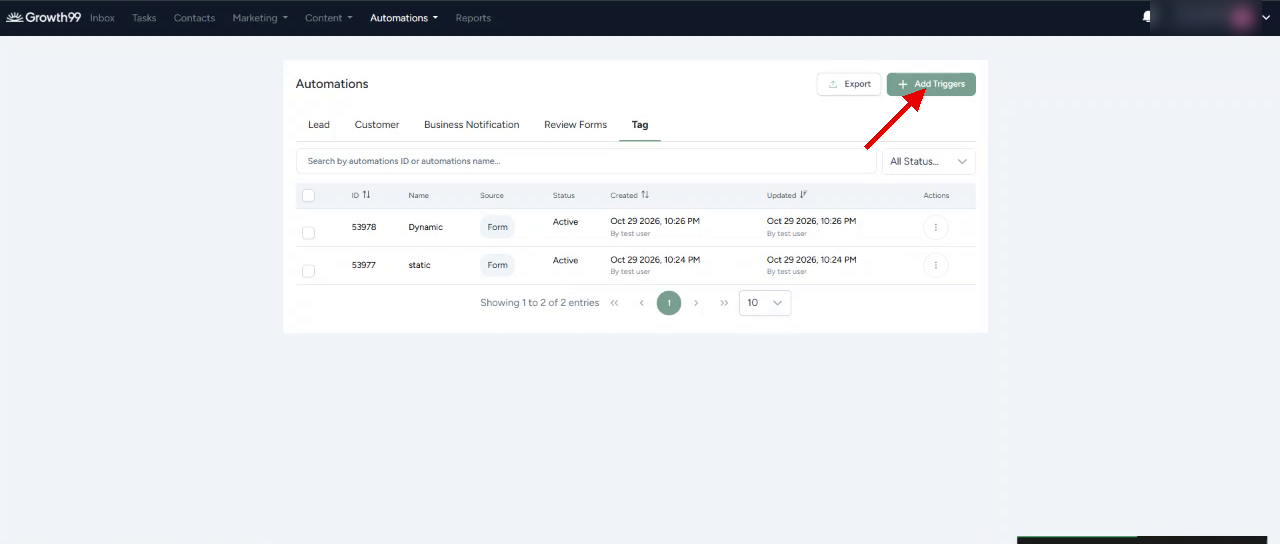
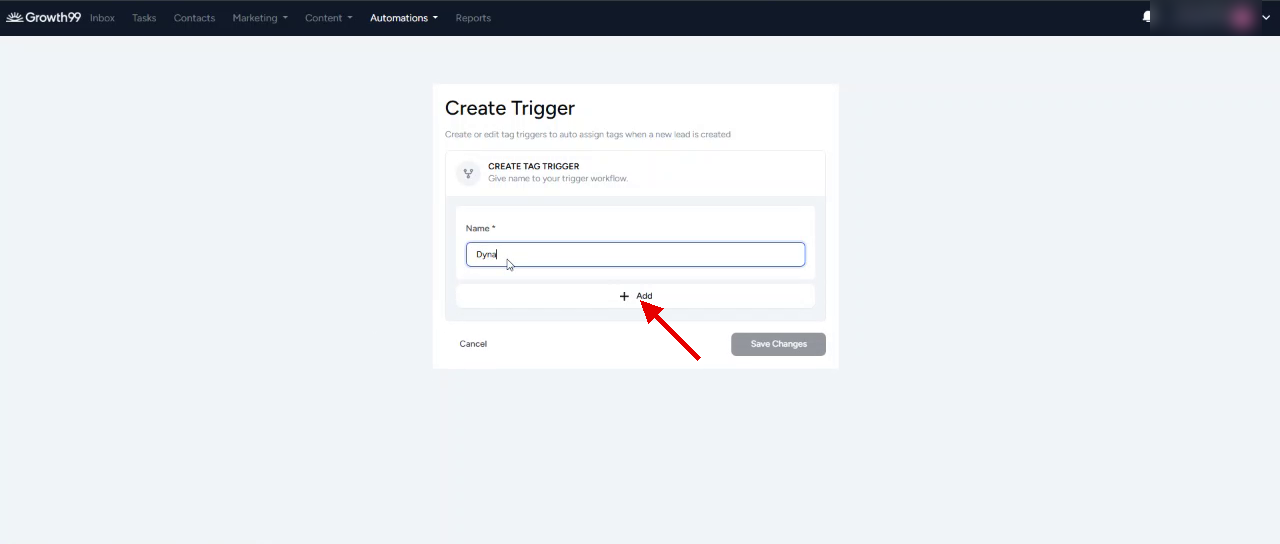
- Click Add Triggers to open the Create Trigger page.
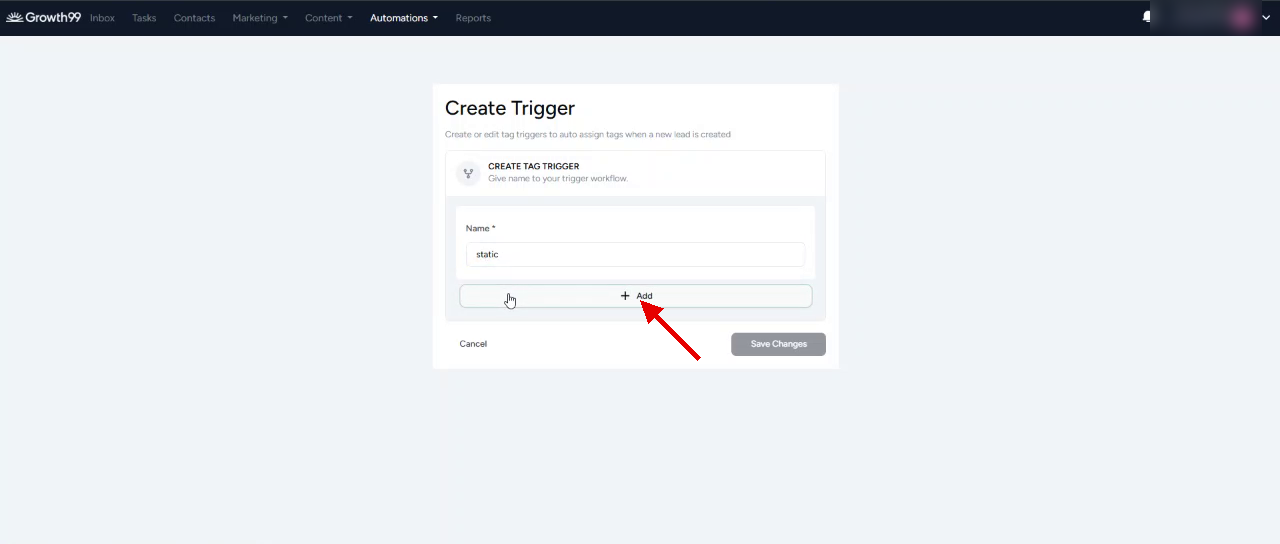
- Enter a Name for the trigger and click + Add to open the trigger settings.
- In the For Tag Where section, select Add Static Tag as the Tag Type.
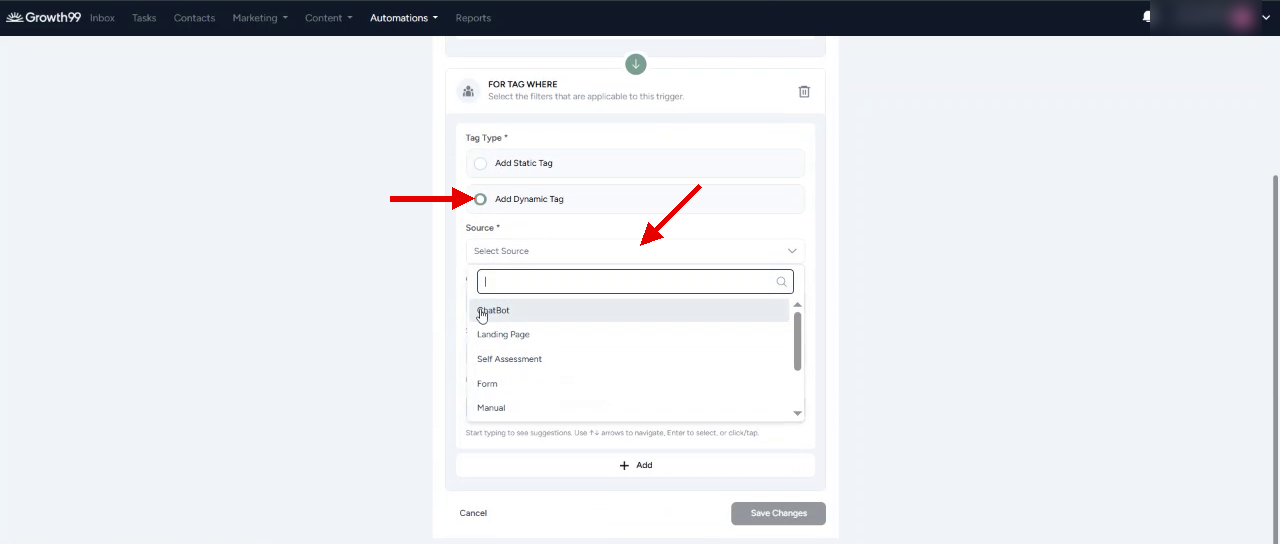
- Open Source and choose where the leads come from: ChatBot, Landing Page, Self Assessment, Form, Manual, and others. You can select more than one source.
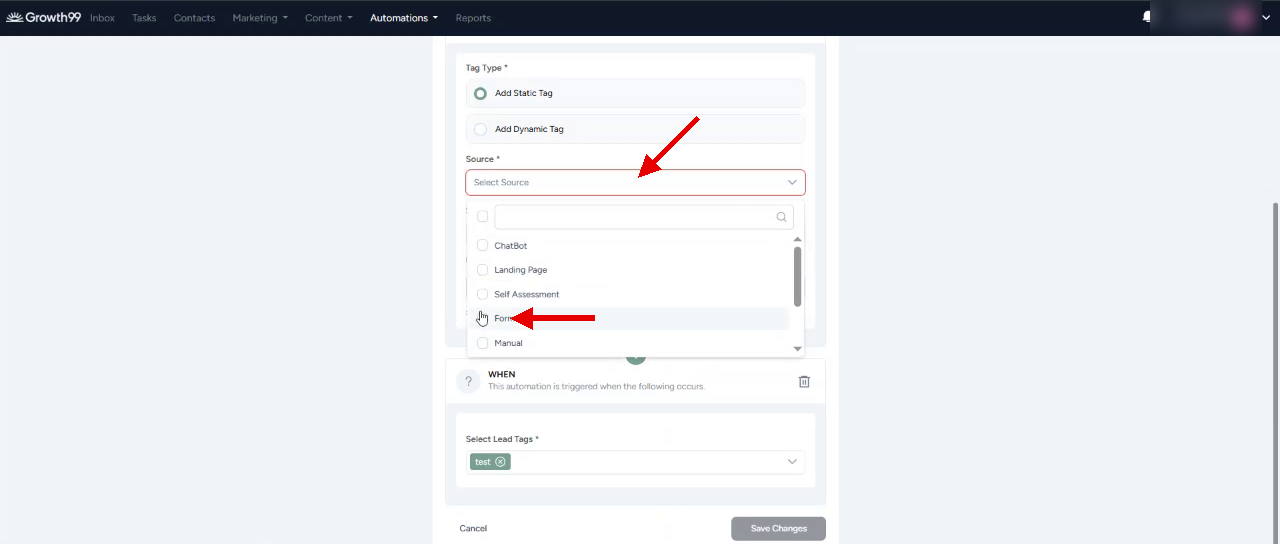
- Select which forms the trigger applies to. If you choose Landing Page as the source, select the landing pages instead.
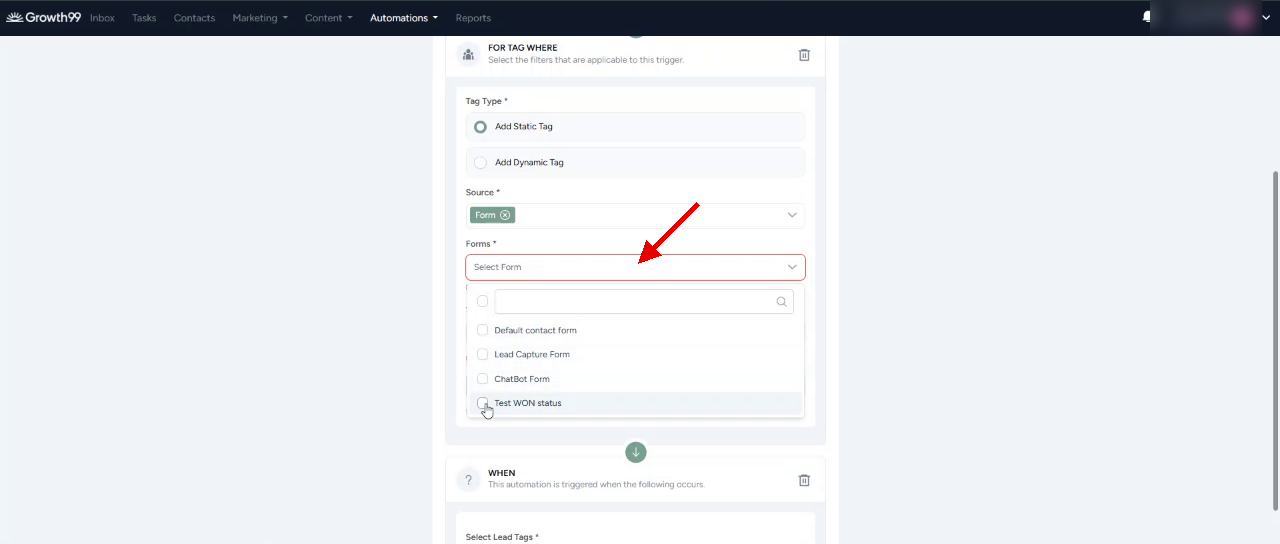
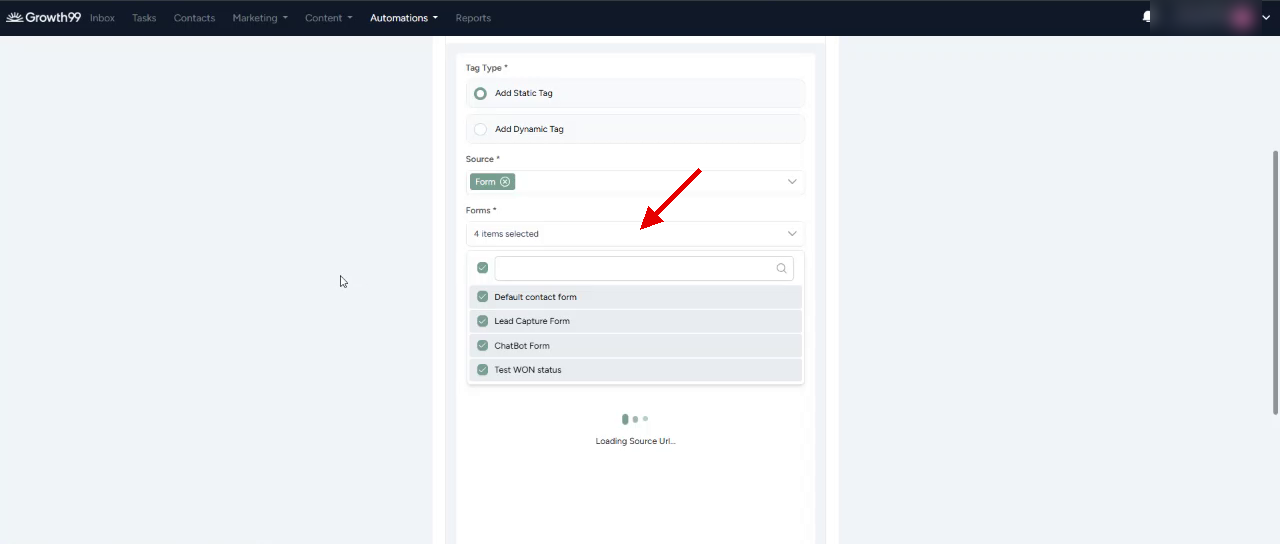
- You can select one form, several, or all of them using the checkbox at the top of the list.
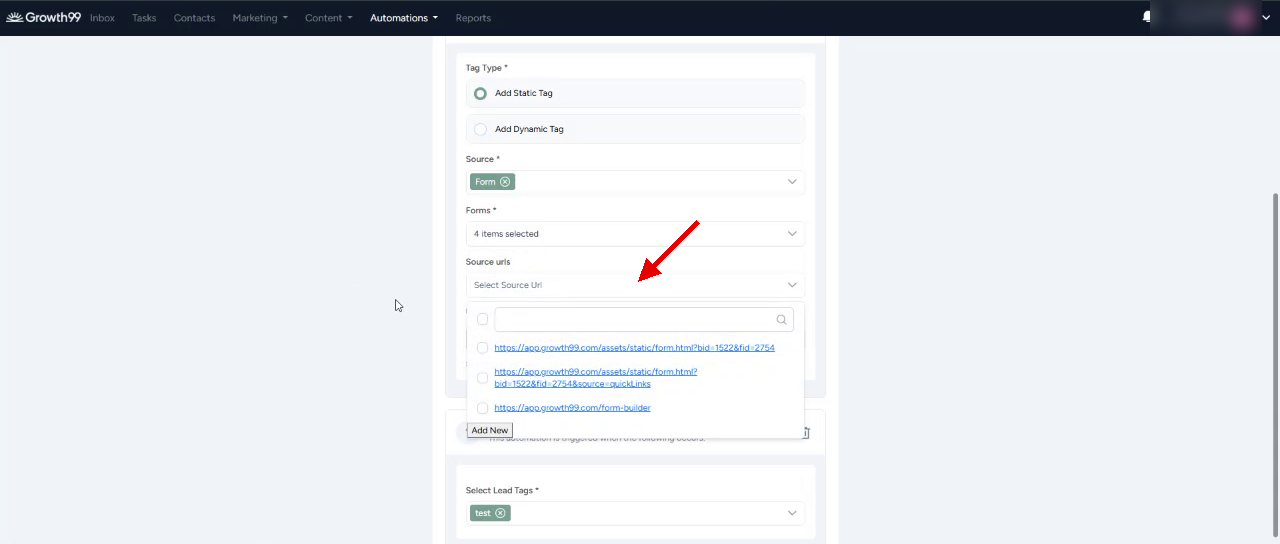
- (Optional) Narrow the trigger further by Source URLs (pick a URL or click Add New) and UTM Parameters.
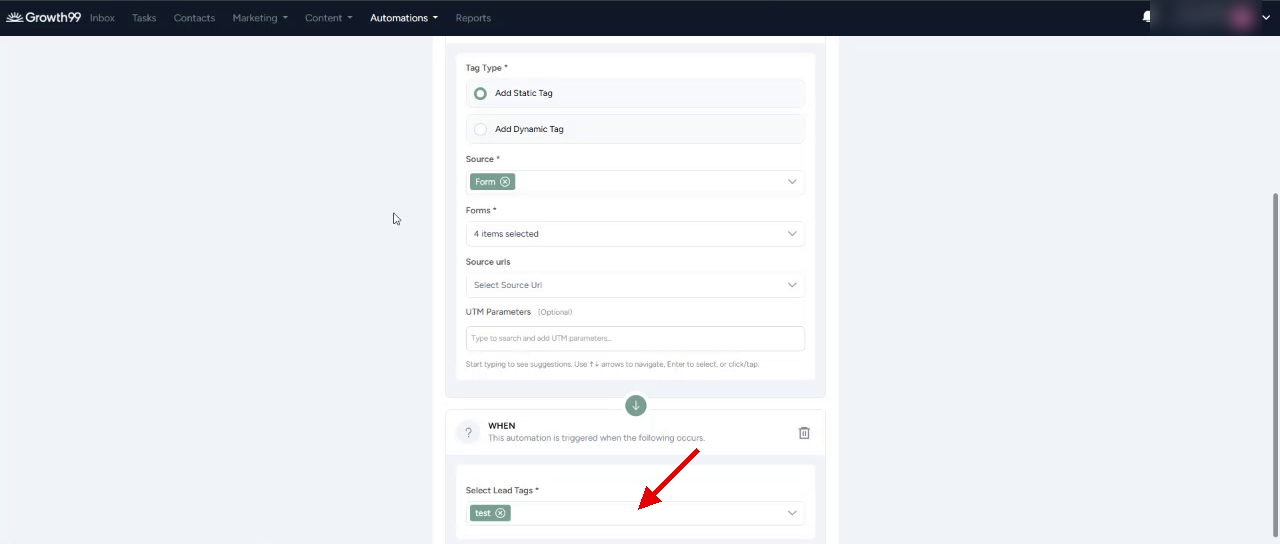
- In the When section, open Select Lead Tags and choose the tags to add to the lead.
- Click Save Changes. The trigger appears in the Tag tab with the status Active. Use the search bar and status filter to find triggers, and the menu under Actions to manage one.
- On the Tag tab, click Add Triggers, enter a Name, and click + Add.
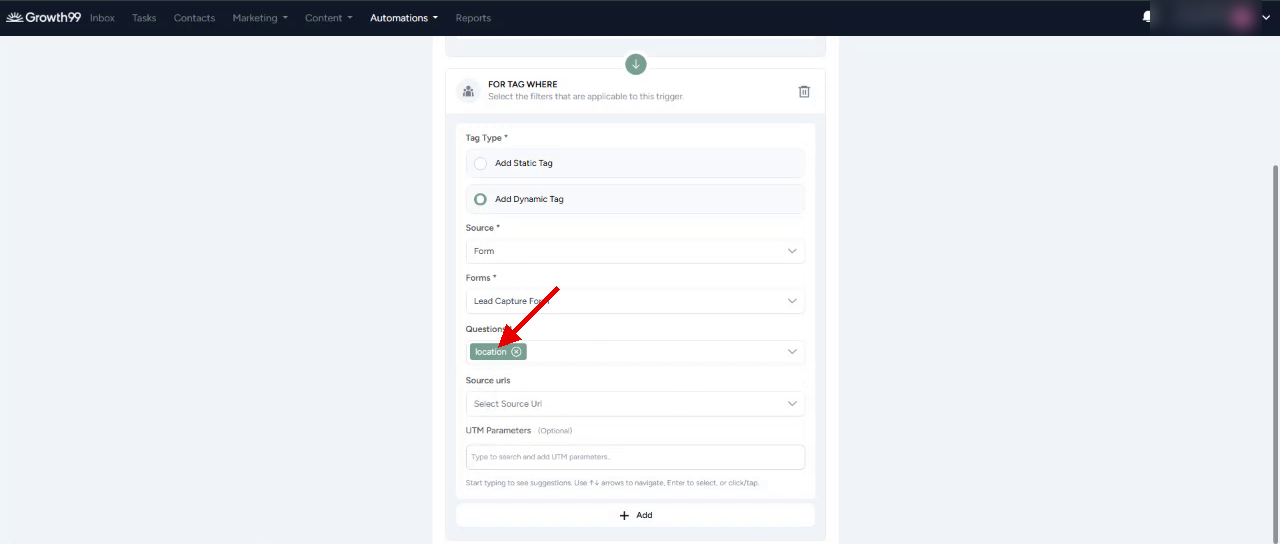
- In For Tag Where, select Add Dynamic Tag, then choose the Source (for example, Form).
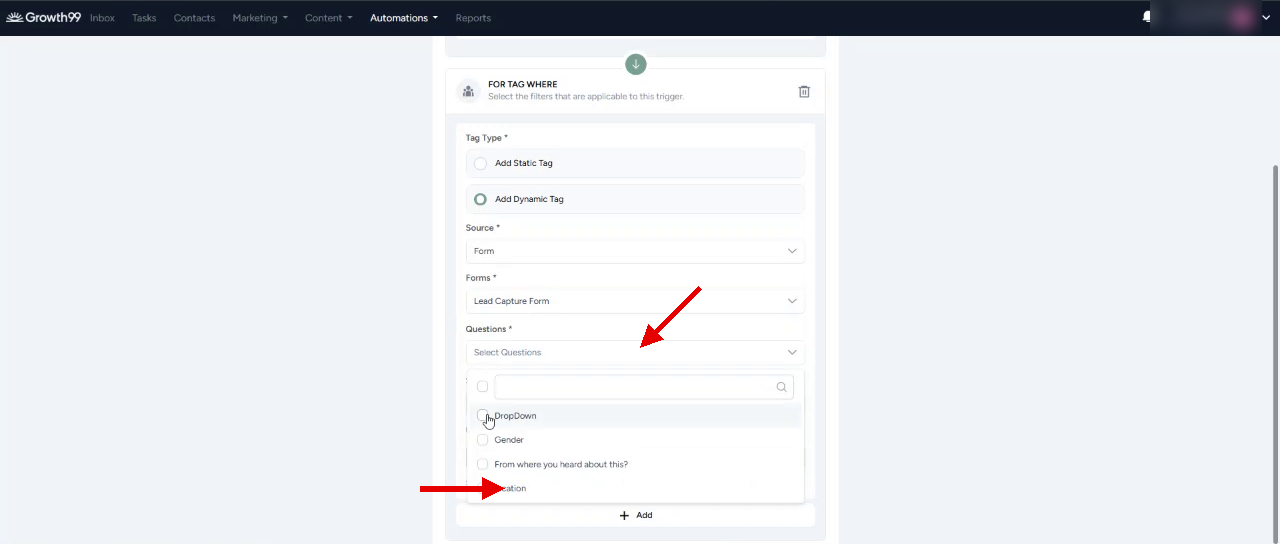
- Select the Form, then open Questions and choose the question whose answer should become the tag (for example, location).
- (Optional) Add source URLs and UTM Parameters, then click Save Changes. A dynamic trigger has no When section, because the lead’s answer becomes the tag.
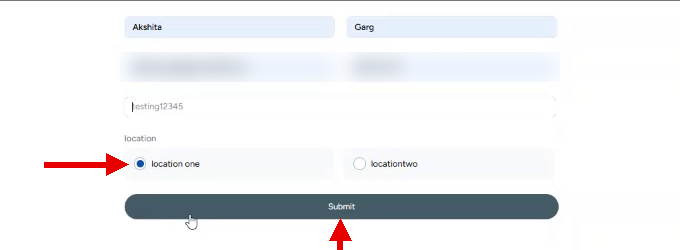
- Open the form (Marketing > Forms > Preview) and submit a test entry. In this example, the lead selects “location one”.
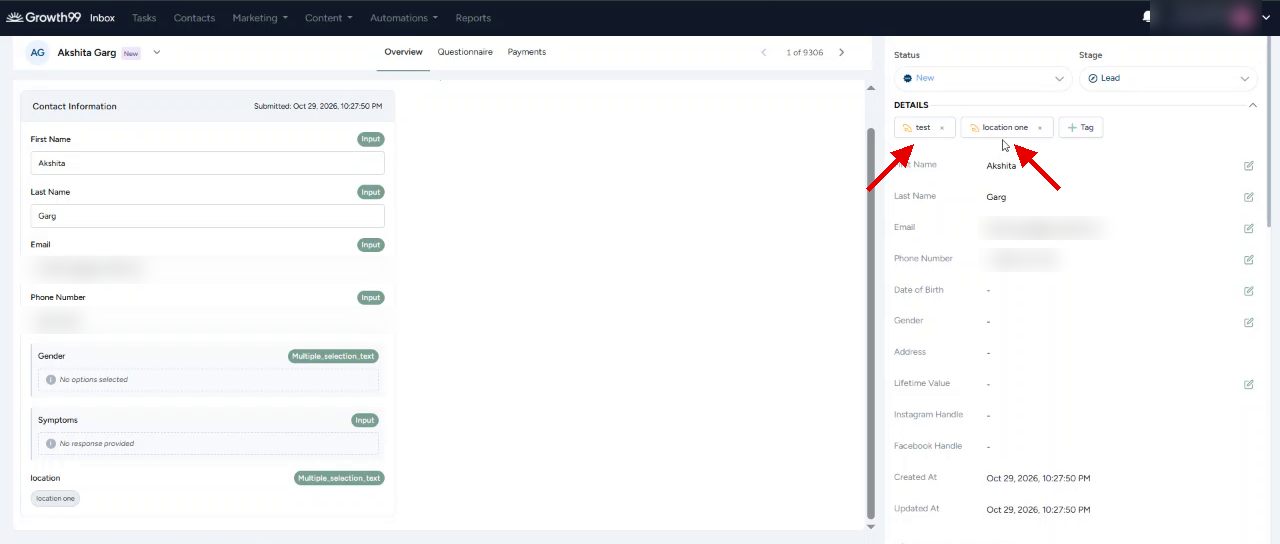
- Open the new contact from Contacts or the Inbox. Under Details, the static tag (test) and the dynamic tag (location one) are added automatically.