To add an admin to the Facebook page, you can follow the steps below.
- Log in to your Facebook business page.
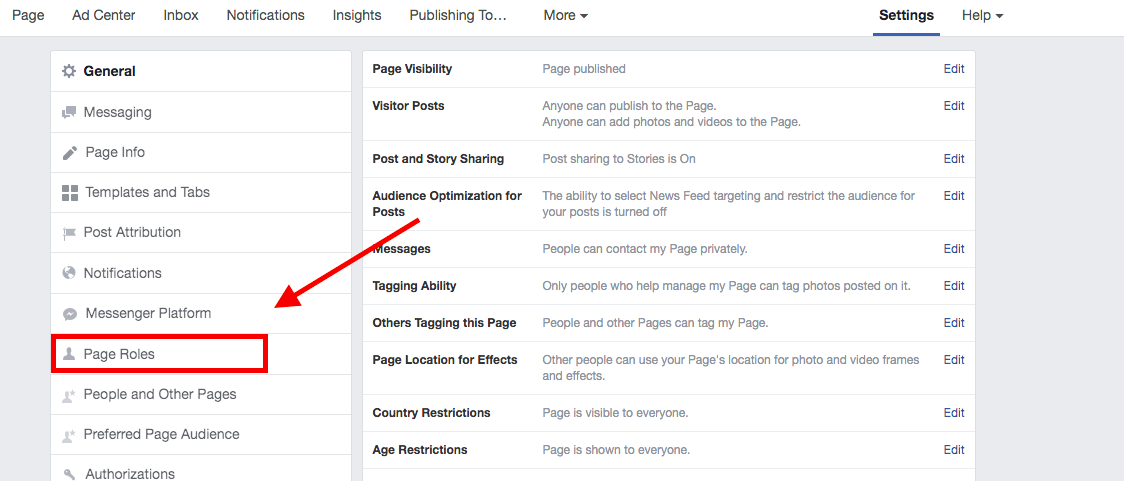
- Head to the Settings tab at the top right of your page and then click on “Page Roles”.
- It will open up a menu also called “Page Roles”.
- On this page, you can manage every role on your page.
- In the “Assign a New Page Role” section, start typing the name of the person you want to assign to the page. The drop-down menu will offer you suggestions, and you can choose the person you want from there.
- Click the menu next to their name to select the “Admin” option.
- Once you have the right name, click “Add”. Facebook will then prompt you to re-enter your password to make sure it's you who is making the change.
- Under “Existing Page Roles”, the person's name will now show up with a red “pending” message next to it.
- Once the person receives the notification, they can accept, and their role will show up under the “Existing Page Roles” section. This shows you each person on your page, categorized by their permissions. For example, you can have one person under the admin and one person under the editor.